I have always been a firm believer in maximizing the potential of my website. As a blogger, I constantly strive to engage my readers and provide them with the best user experience possible. That’s why I was thrilled when I discovered a powerful tool to enhance my website’s conversion rate – the exit popup. In this blog post, I will take you through a step-by-step guide on how I created an exit popup using systeme.io. Follow along as I share my insights and help you boost your website’s conversion rate with this effective strategy. Let’s dive in!
Title: A Step-by-Step Guide to Creating an Exit Popup in systeme.io
Introduction:
In this article, I will show you how to create an exit pop up from A-Z using systeme.io. An exit popup is a valuable tool for capturing leads and keeping visitors engaged on your website. With systeme.io, you can easily customize the appearance of your exit popup to match your brand and optimize its settings for maximum effectiveness. Let’s dive into the process step by step.
Creating the Exit Pop Up:
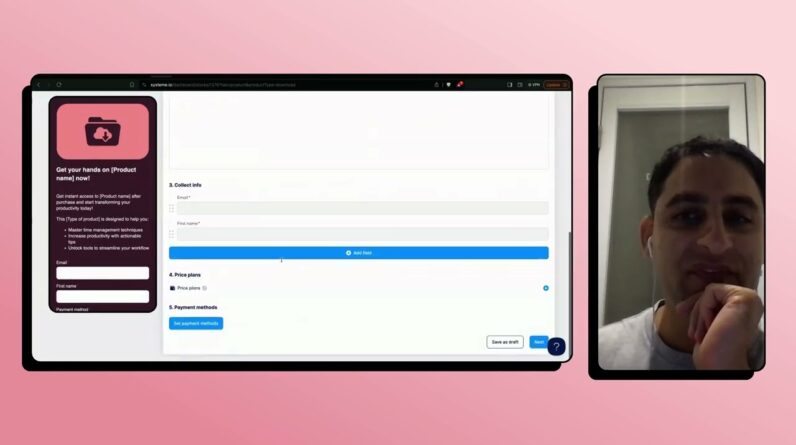
- Access your systeme.io account and navigate to the “Website” tab.
- Click on the “Pop-up” option and select “Exit Control” from the drop-down menu.
- Choose the design template that you prefer or start from scratch by selecting the “Blank Pop-up” option.
How to Set Up the Button Settings to Redirect to a URL:
- Click on the exit pop up and then click on the “Buttons” tab.
- Enable the button by toggling the switch to “On.”
- Inside the “Button Link” field, enter the URL you want the visitor to be redirected to when they click the button.
- Select the target behavior – whether the URL should open in a new tab or the current one.
- Adjust other button settings such as the button text, color, size, or positioning according to your preference.
How to Customize the Button Appearance and Fonts:
- Click on the “Design” tab and select the “Button” section.
- Customize the button appearance by changing the background color, font color, or border properties.
- Select the desired font family, size, and style for the button text.
- Preview the changes in real-time and make adjustments until you achieve the desired look.
How to Add a Button Icon:
- Under the “Buttons” tab, select the “Icon” section.
- Choose a suitable icon from the available options or upload your own icon.
- Adjust the icon color, size, and positioning to complement the overall design.
How to Customize the Exit Pop Up Appearance:
- Navigate to the “Design” tab and select sections such as “Background,” “Title,” “Subtitle,” and “Close Button.”
- Customize the background by selecting a color, image, or preset pattern.
- Adjust the font style, color, size, and alignment for the title and subtitle sections.
- Customize the appearance of the close button, including its color, size, and positioning.
Optimizing the Pop Up Settings:
- Click on the “Settings” tab to access various options.
- Adjust the exit intent sensitivity to determine when the pop up should appear.
- Set the frequency to decide how often the exit pop up should be displayed to the same visitor.
- Enable the “Smart Triggers” feature to display the pop up based on specific conditions or visitor behavior.
- Test different combinations of settings to find out what works best for your website.
How to Add Placeholder Texts on the Text Box:
- Select the text box in the exit pop up.
- Click on the “Text” tab.
- Inside the “Text” section, you can add a placeholder text that appears when the visitor interacts with the text box.
- Customize the font style, color, and size for the placeholder text.
Preview of the Exit Pop Up:
- After making all the desired changes, click on the “Preview” button to see how the exit pop up will appear to your website visitors.
- Make any additional adjustments if necessary.
Conclusion:
Thanks to systeme.io, creating an exit pop up has never been easier. By following this step-by-step guide, you can create an eye-catching and effective exit pop up that captures leads and keeps visitors engaged. Remember to optimize the settings and customize the appearance to align with your brand. Start implementing exit pop ups today and watch your conversions soar.
FAQs:
-
Can I customize the appearance of the exit pop up to match my website’s branding?
Yes, with systeme.io, you have full control over the design and appearance of your exit pop up. You can customize the colors, fonts, and even add your brand logo. -
How often should I display the exit pop up to the same visitor?
The frequency settings allow you to decide how often the exit pop up should be displayed to the same visitor. It’s recommended to strike a balance between being noticeable and not overwhelming. -
Can I track the performance of my exit pop up?
Yes, systeme.io provides analytics and reporting features that allow you to track the performance of your exit pop up. You can monitor the conversion rate, engagement, and other metrics. -
Can I set specific conditions for displaying the exit pop up?
Yes, systeme.io’s “Smart Triggers” feature enables you to set specific conditions based on visitor behavior or other criteria. This allows you to display the exit pop up at the most opportune moments. -
Is it possible to integrate the collected leads from the exit pop up with my email marketing software?
Absolutely. With systeme.io, you can easily integrate your exit pop up with popular email marketing software such as Mailchimp, AWeber, or ConvertKit, ensuring a seamless lead generation process.
Remember, using exit pop ups strategically can significantly improve your website’s conversions and lead generation.