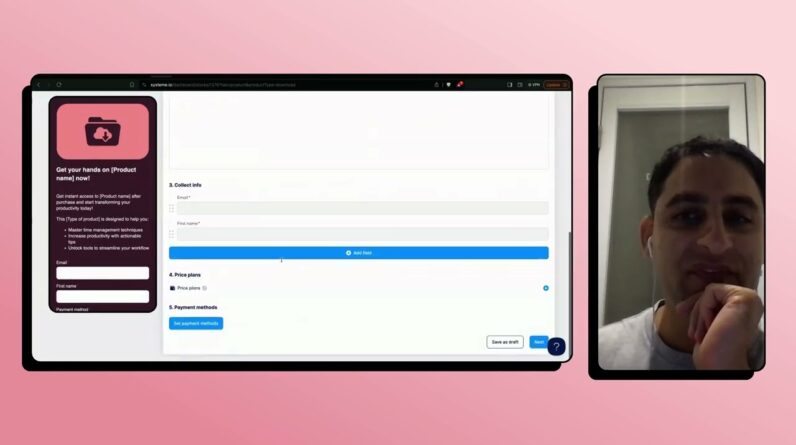
In today’s digital age, having a website is essential for any business or individual looking to leave a digital footprint. Connect your domain to systeme.io and unlock a range of tools to help you grow your online presence. In this step-by-step tech tutorial, we’ll guide you through the process and provide an over-the-shoulder demo, so you can watch and follow along. Get ready to level up your website game with systeme.io! 🔥🧠
How to Connect Your Domain to Systeme.io: A Step-by-Step Tech Tutorial (with Over the Shoulder Demo) 🔥🧠
Introduction
When starting a new online business, one important decision to make is which platform to use. Systeme.io is an all-in-one business software that integrates all the necessary features for an online business such as email marketing, funnel, membership sites, and blog. However, connecting a custom domain to Systeme.io will make the business look more professional, and it is not as difficult as it might seem. In this tutorial, we will guide you through the process step-by-step with a demo.
Step 1: Choose Your Domain Provider
Different domain providers have different interfaces, but the concept is the same. Some popular domain providers include GoDaddy, Namecheap, and Bluehost. Once you log into your domain provider’s dashboard, select your domain name.
Step 2: Change DNS Settings
DNS stands for Domain Name System, and it translates domain names into IP addresses. To connect your domain to Systeme.io, you need to change your DNS settings to point to Systeme.io’s servers. Go to your domain provider’s dashboard and locate the DNS settings. You will need to change the A record and CNAME record.
Step 3: Create a CNAME Record
A CNAME record is necessary for connecting your main domain to Systeme.io, but also for setting up your subdomains later on. Create a new CNAME record with the name you want and the value targets.systeme.io.
Step 4: Edit A Records
The A record is used to point the domain to an IP address. The IP address you need to use is provided by Systeme.io. You will need to edit the A record for the “@” and “www” subdomains, with the IP address provided by Systeme.io.
Step 5: Verify Domain
After you’ve made these changes, you’ll need to wait for the DNS propagation to complete. This can take up to 48 hours, but usually happens within a few hours. To verify if your domain is connected, go to Systeme.io’s dashboard and add your domain under ‘Custom Domains’. If it indicates ‘Verified’, you’re all set! If not, double-check the settings.
Congratulations! You’ve successfully connected your domain to Systeme.io. Now you can start building your online business with all the features provided, and your website will look professional.
FAQs After the Conclusion
-
What if I made a mistake in changing the DNS settings?
If you made a mistake, simply go back and edit the settings accordingly. It may take up to 48 hours for the new changes to take effect though. -
Can I connect multiple domains to Systeme.io?
Yes, you can connect multiple custom domains to Systeme.io. -
What if I also want to set up subdomains?
You will need to create CNAME records for each subdomain pointing to targets.systeme.io. -
Does Systeme.io provide hosting services for my website?
Yes, Systeme.io provides hosting services, but you can also use an external hosting provider if you prefer. -
What if I need help with setting up my online business with Systeme.io?
Eran Bucai offers services for overwhelmed or confused online business launchers. You can reach out to him through his website or Facebook group.


